Tools and Equipment: What the Work Requires
Professional exterior work — roofing, siding, window installation, deck construction — depends on having the right equipment for the job. This is not about luxury items or status symbols. The correct tool exists because it solves a specific problem that wrong tools either cannot solve or solve poorly. A roofing nailer is designed to seat a fastener at precisely the right depth; a speed square is engineered to mark angles that will shed water correctly; a laser level marks reference points that keep installations plumb and square over long distances. Understanding what each tool does and why it matters gives you a framework for evaluating whether a crew has actually prepared for your project.
How to Use This Reference
This reference is organized by function, not by tool name. Start with the type of work your project includes — roofing, window installation, siding, or deck construction — and look for the tools that appear on the list. A professional crew should own all of them or have immediate access to them. If a crew is renting specialized equipment for your job or borrowing from another job site, that is worth understanding before work begins.
The Detail: Equipment and Technique

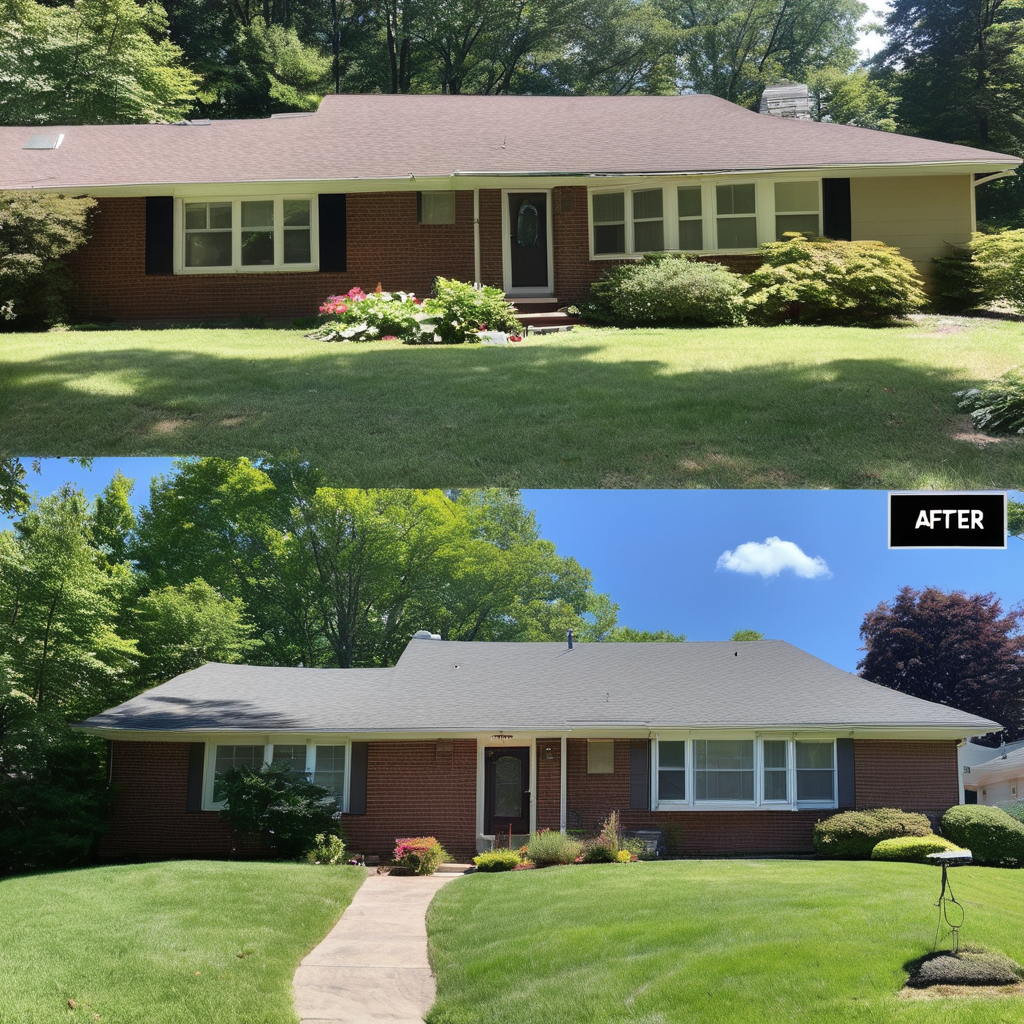
Roofing
Measuring and marking: A 25-foot or longer tape measure (steel, not cloth), a carpenter’s pencil, a chalk line, a laser level (for sheathing inspection and verifying slope), a roofing calculator or slope gauge.
Fastening: A pneumatic roofing nailer (coil or strip, depending on the roofing material), a backup compressor, backup fasteners of the correct specification for the material (nails, collated screws, or staples). Hand nailing requires a specialized roofing hammer with a magnet to hold nails and a striking face sized for shingles. A roofing nailer is not optional; hand-nailed shingles are typically not warranted.
Cutting and finishing: A utility knife with plenty of blades (roofing material dulls blades quickly), a roofing cutter or pneumatic shear for smooth cuts on shingles, a flashing crimper for sealing seams, a roof-flashing bender or brake for custom pieces, heat tape and a heat gun for seal-down.
Safety and access: A roof ladder or standoff (not a regular ladder leaned against the fascia), roof brackets or guardrail systems, tie-off harnesses and anchors rated for the specific roof pitch and weight, fall-arrest systems, and boot grips or roof shoes designed for pitched surfaces.
Siding Installation
Measuring and alignment: A chalk line, a laser level, a speed square (to mark angles that will shed water correctly), a measuring tape, a level at least 4 feet long.
Cutting: A miter saw or chop saw (for end-grain cuts on wood or fiber-cement), a table saw (for rip cuts and angles), a power circular saw (for on-site cuts where it cannot be brought to the saw), and fine-tooth blades designed for the material being cut. Metal siding requires carbide blades and sometimes a specialized metal-cutting tool.
Fastening: A pneumatic or electric brad nailer for certain siding types, a screw-gun or power drill rated for outdoor use and corrosion resistance, corrosion-resistant fasteners (stainless, coated, or hot-dipped) matching the siding material.
Flashing and sealing: Flashing shears or a utility knife for cutting flashing stock, a caulking gun and the correct caulk for the siding type and climate, J-channel benders for custom openings.
Window and Door Installation
Measuring and checking square: A laser level (to verify that the opening is plumb and the frame is square), a carpenter’s square, a measuring tape, a shim gauge or thickness checker.
Shim placement: Wooden shims (cedar or pine, dried to prevent warping), a utility knife for trimming shims flush, a carpenter’s level for verifying vertical and horizontal as you shim.
Fastening: A casing nailer or brad nailer for trim, corrosion-resistant fasteners rated for exterior use, proper spacing shims and not fasteners as the sole support.
Sealing: Flashing tape or house wrap designed for window openings, caulk rated for wood-to-masonry or wood-to-vinyl bonds (depends on what’s adjacent), a caulking gun, and a wet-finger or caulk-smoothing tool for proper bead shape.
Deck and Outdoor Structure
Layout: A 25-foot or longer tape measure, a carpenter’s square, a laser level for slope (critical for water drainage and safety), chalk lines for marking joist and fastener locations.
Fastening: A framing nailer (for structural connections) or deck screws and a power drill (preferred for exterior work, as screws hold better through seasonal movement), corrosion-resistant fasteners matching the wood species and treatment (pressure-treated, cedar, composite, etc.).
Safety railing installation: A level, a speed square for balusters and angle checks, a drill for pilot holes (mandatory before fastening on composite or hardwood), fasteners with washers to prevent pull-through.
Cutting: A power miter saw for clean cross-cuts, a circular saw for rip cuts, and blades designed for the material (wood dulls blades differently than composite or treated lumber).